Showing posts with label mini albums. Show all posts

MWL DT: Single Coptic Stitch with name - Mini Album

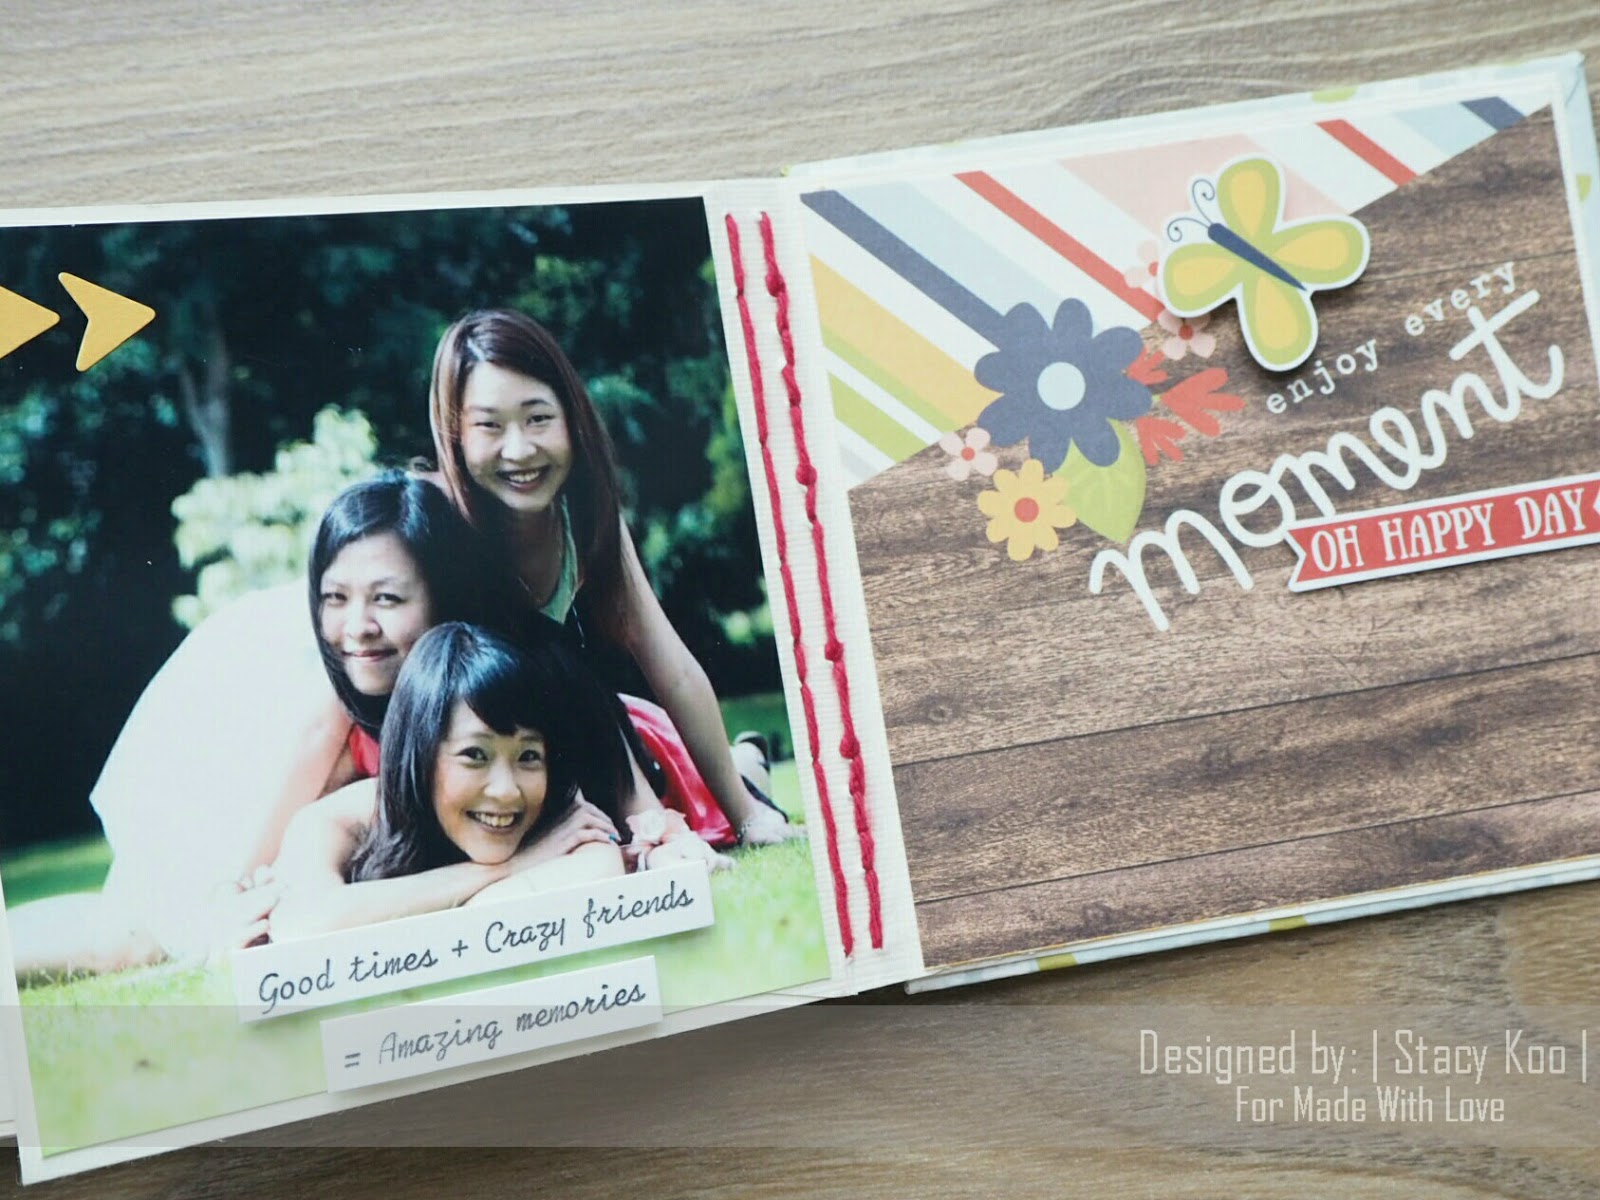
Hi crafters! It's me today sharing my mini album as Made With Love DT and I had so much fun with stitching this time round!

I wanted to personalize the album for my friends. My best friends. There are so many albums I want to document our friendship so I reckon that an album with a named spine might be useful. Think of how they look if you create a few albums and put them side by side on the book shelf?


This form of sewing uses the single coptic stitch. There is so many possibilities with one form of sewing, and I am happy to be expanding the stitches to create the spine I want.


This mini album took me 2 hours to sew and another half hour for decoration. I have to say that the sewing time was long, but definitely worth my efforts! Here's a look into the album.



Sewing cultivates my patience. Really it does. There are so many ways to make the sewing process a lot easier, but nothing can make the perfect sewing except if you are patient enough to go through each and every step with accuracy. One wrong step at the initial stage, and you could go hay wired in the next steps to come. With every practice, the stitching becomes easier, and there would be less room for errors. There is no short cut in sewing, and as the saying goes, practice makes perfect.

I can't say this enough. Each binding is unique to the receiver. I can create different types of binding to suit the occasion, and I can alter the stitches to make it work for me. That is why I keep binding. This is also why it intrigues me every time when I see a particular pattern I want to add to my album. Or maybe I see an apple on the table, and the next thing I know, I would pick up my pencil to draft the sewing pattern on my notebook. (okay, maybe not apple, but you get the point.) 

I like this kind of challenge. It spurs me to think of new ways to showcase my albums. It pushes me to be more patient with every mistake I make (yes, I tend to re-do the entire album until I get it right.) But that's how we learn right?

Look forward to my book binding classes! There is something new which you can pick up to customize your own album!

All materials used for this project are available at Made With Love. Don't forget to also look out for more book binding projects / classes available only with Made With Love. 

Thanks for dropping by my blog today! 


MR DT: Mini Album - Smiles

Yes it is my turn up on Maya Road blog today! This time round, I decided to play with the dies! Boy did I enjoy myself much on this project!


I'm telling you, this has to be my favorite album! It started with the cluster of embellishments for the title, and the more I built / layered, the more substantial it got. I was having much fun!

I first started building the title, using the bow die and the Smile frame ATC die. A die can work multiple purposes! In this case, I am using the bow die as a title background, like a label. It sure works! Then I added the XO Heart Die below, topped with the soaring bird resin. Next, I decided that I would like to frame up the resin bird, so I backed it with the wood frame embellishment and a pink pin. As a final layering, I added the Vintage Doilies, topped with some jute cording and the Geometric leaf.

Yes, you might have guessed, I worked from the title downwards, creating the layered cover for my mini album.


The album opens to an array of envelope pages with tags. There is so many possibilities in here! Add almost everything to the pockets! 2 sides open up with pockets, the sides as well as the top.


For the top pockets, I added the tabbed file folder in every of those pockets. Had to cut it slightly smaller in order to fit, then backed it with pattern paper.


For the side pockets, I added a whole load of goodies to them! For the front side, I added clips! Love how these clips fit nicely into the pockets and become a gorgeous piece of embellishment! I used an array of them, namely the beautiful daisy, question mark and coffee cup clip. For the beautiful daisy, I even added a brad to the centre!

Each of the front side pockets are also filled with an ATC diecut. The ATC diecuts are extremely gorgeous! In addition, I topped it up with a token of choice. There are so many gorgeous tokens in Maya Road's Collection, I am sure you will be spoil for choice! 


See what I mean with the ATC die-cuts? Each of these are either backed with pattern paper or clear transparency. I love how simple yet stylish each piece is!


On the back pockets, I added some pattern paper and manila shipping tags. I love to use these shipping tags! I like it in its original color, so I simply added some doodling to the sides of the tag. Oh yes, and the stitched square background you see below on the tag? That's the square stitched diecut from the Smile frame ATC die!


Last but not least, there is still space on the back page for more decoration! I grabbed some love chipboards and painted them gold. It serves as a subtitle and I love how the word love peeks out from the top of the album! Another love I recently found is the pearl flower trims! Ain't they gorgeous!


Hope you had fun seeing this mini album come together too! Don't forget to grab your Maya Road supplies and start the crafty fun!

Maya Road Supplies Used:
Visit Maya Road for more inspirations!

MR DT: Explosion Box

Hi Roadies! It's me, Stacy on the Maya Road blog today! 

I have been a great fan of making explosion boxes, because they are fun and always manage to surprise the receiver! There are a numerous of them in my collection now, waiting to be gifted to someone special! I find that explosion boxes gives a great wow factor, and allows me to include some precious photo memories! Sometimes, I find myself adding more journalling or hiding a letter somewhere in the explosion box, waiting for the receiver to go through every section and be amused with the elements!


A glance into the top cover. I like to use frame die-cuts because they help to enhance an element which is of interest. In this case, I used the scallop frame ATC die to enhance my current favorite embellishment - the tulle flowers. In this project, I made use of 2 sizes. Love how easy it is to use these flowers in almost every project!


Since the other embellishments like the royal key charm and Vintage Art Supplies charms are gold, I decided to spray some gold paint onto the royal crown clip in order to match the overall color in my project. It is this easy to alter the colors according to your preference!


Another embellishment I totally love are these acrylic tokens! I like how subtle they are! In this case, I have also layered it against the mini wood pieces, don't they look amazing layered together?


On the other side of the cover, I made use of the other piece from the scallop frame ATC die to highlight some words. In addition, try adding the mini pom pom trims to ends of covers - it immediately highlights and brightens the entire project! I simply can't get enough of these trims! It is also sturdy enough to withstand the opening and closing of the explosion box. I love it when art supplies are beautiful and useful at one time!


Viola! It opens out with an array of panels good for photos and journaling! 


Each of the panels open up to showcase a mini card in all 4 sections. It is simple to achieve these cards with the Maya Road Dies! The dies cut through gold foil nicely! MR has just made it all so easy to create these pieces - simply add the ATC pieces to some card bases! I have also topped it up with the XO Heart Die. This die set is so pretty, especially with the stitched border around the heart piece.


Last but not least, more mini tulle flowers to add interest to the entire explosion box! I added a sewing pin to the side of the tulle flower, and you can add twines or cord to the eye of the sewing needle to create attention as well! This area is a good place to hold a key photo, since this is the centre where the explosion box opens up to. I left it empty for now, good to add photos when the need arises! :)

Maya Road Supplies Used: 
  • Acrylic Tokens

Visit Maya Road for more inspirations!

MWL Workshop: Double Star Chunky [June 2016~]

Oh it's June already! One of my favourite months of the year! This month I have installed some fun and easy album binding for all! 

Project Title : Double Star Chunky
Description : Special chunky album edition allowing multiple layering possible! Let your album spine shine with a new book binding technique which Stacy has created - Double Star Stitching!
Techniques: Album construction, Double Star Stitching


Looking forward to seeing you at Made With Love! Limited classes and kits available. Don't miss out! 

Check out MWL facebook page for more details!

MWL DT: Button Hole Stitching

Hello! It's my turn on the MWL design team to share a project with you! 

Book binding is a great skill to learn and a craft that has been around for many years. It takes practice and understanding the steps to bind, but book binding can also be made simple. As an instructor, I like to study the traditional methods of book binding so that I can infer from these traditional methods to something that can work with my albums or notebooks. Book binding techniques can be used on its own or mixed with other stitches to give a different feel to the entire project - and this is exactly what I like about book binding.

Today, I would like to introduce a mini album featuring Button Hole Stitching, which is a well known book binding method.


This is the basic form of Button Hole stitching, which I adore. The main advantage of this binding is that it does not require any glue for the sections to the spine. It allows me to also expand or contract each section with different page height to enclose more or lesser page layering.

Another advantage is the ability to add designs to the project spine. Because the middle section is open, it allows the flexibility to include designs to enhance the project. There is also a possibility of changing thread colors and adding beads to the project. I like this kind of variation possibilities, so I can change the outlook of my entire project with 1 book binding skill!


Book binding adds a flair to the entire album. Coupled with a few other embellishments, and your mini-album is good to go! 

Supplies used are available at Made With Love.
- Simple Stories: Life in Color Collection, Enamel Dots, Elements pack, chipboard frames
- Sizzix Tim Holtz: detailed butterflies die cut

Want to learn more about book binding?  Do check out Made With Love FB page for more book binding class schedules! :) I will be conducting Button Hole Stitching and Lattice binding (Last call!) this month and hope to see you around!

Cheers!

Maya Road: Faith & Love - Mini Album

It's my turn on the Maya Road DT Blog again! This time, I am sharing a mini-album made from scratch using lattice stitch binding. I love how special the album becomes with a sewn spine!

For the album title, i made use of MR Faith Script die on foam. Foam comes in many different colors and has a certain thickness to highlight your font. I love MR dies because they cut these thick materials at ease too!

Another of my favourite new product is the MR Vintage Crafting Tassels. In this case, I used the milk white tassel. Just cord it through a twine and stick it to the back of the pattern paper or backing. What I love is that it creates an interaction on the front cover! The dangling tassel does make the album more "alive"!

On the other side of the album, I layered MR resin deer
, silver and pink star pins, pink paper flower, milk white felt roses, round jeweled center, and my favourite geometric feather die as a base for the felt flower. I like just how versatile the die is!
Here's a look into the album:


The mini embroidery hoop
is another embellishment which I love. This time, I layered it onto the stitch circle charm. For both wooden embellishments, I used my Tombow brush to color them in order to highlight the title "love".


On another page, I decided to enclose some hidden journaling behind the photo. In order to keep it in place, I made use of the question mark clip. Super useful embellishment! Oh and did you see the beautiful doilies die-cut?

Here, I share with you another 2 pages in this album using MR embellishments. It is always easy to construct the pages with the products!

Hope you like what I shared with you today, and don't forget to drop by the MR blog, facebook or instagram for more inspirations!

Maya Road Supplies Used:
•
Corrugated Kraft Mail Tags
• Geotag Love Clip• Resin Mini mums - Turquoise Sea
• Framed Sayings Kraft Pieces - White
• Shine Gold Twine Cording
• 
Faith Script die

• Vintage Crafting Tassels
• 
resin deer

• silver and pink star pins

• pink paper flower

• milk white felt roses

• round jeweled center

• geometric feather die

• mini embroidery hoop
• stitch circle charm

• Fanciful love die

• question mark clip
• doilies die-cut